Image source: unsplash.com
There are a few days left until the opening of the new ski season and you can no longer wait to take out your skis and head to one of the popular Bulgarian or world ski resorts.
Don’t be in such a hurry. Before heading to your favorite ski resort, you should prepare your skis in advance to increase their productivity and speed.
To help you, we’ve created a short guide to technical ski training that we hope will help you.
Image source: unsplash.com
Basic steps for technical preparation of skis
Before you start, it’s a good idea to get everything you need to prepare your skis:
- Comfortable workplace – If you can, use a special table with a place to attach the skis. If you do not have such a table, you can use the so-called “donkeys”.
- Brushes – You will need at least two metal brushes and one nylon brush. And if you want to equip yourself properly, you can add a brass one with horse hair.
- Files – You will need one coarse, one medium and one fine.
- Sandpaper 600 – 1000
- Wax – base and finishing layer. What wax you use depends on the temperature, the structure of the snow and the speed you want to develop.
Universal carbon wax is usually used as a base
- Wax iron – The iron must be of good quality and in no case steamed. There is a wide range of irons on the market, designed specifically for applying wax , so you have many options to choose from.
- Cleaner
- Cleaning towels
- Scraper to remove excess wax
- Protective mask – Its use is highly recommended, as when melted the wax releases harmful substances that can make it difficult for you to breathe.
Image source: unsplash.com
Check the base plane
It doesn’t matter if you just bought skis or you will use the ones you have been using for several seasons, the first thing you need to do is check the surface of the base. To do this, you will need a metal ruler with which you can check that the base of the skis is flat.
If it is flat, everything is fine, but if it is concave or convex, you must take care to eliminate the problem.
If the base is concave, it must be scraped off. You can do this with a special metal scraper , but if you don’t have something like this at home, you can use fine sandpaper.
If the base is protruding, then you need to cut the edges. You can do this with an internal edging file, but if one is not available, our advice is to seek the service of a repair and ski maintenance.
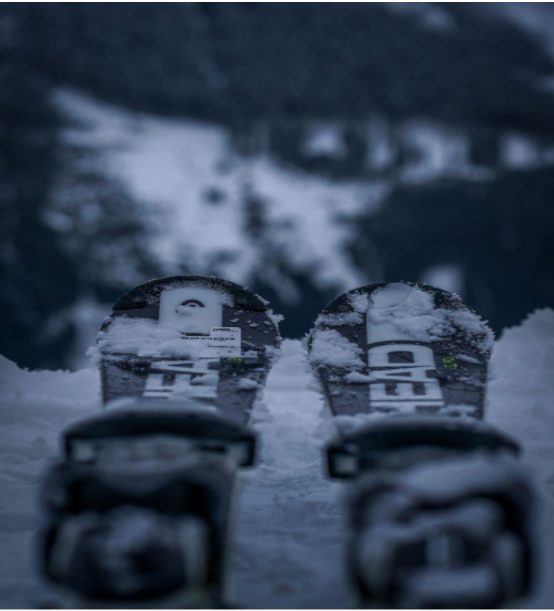
Image source: unsplash.com/
Adjust the edges
Adjusting the edges actually means tightening the skis along their entire length. This is extremely important, especially when preparing alpine skis, because how well the edges are sharpened depends on whether you will be able to stop, turn and make different movements with the skis on the track.
Usually sharpening is done either with a 200 mm file or with a guide file . The skis are placed in a convenient place for work and the file is run along their entire length. It is important not to put too much pressure while working as this can lead to a change in the radius of the skis.
Image source: unsplash.com
Polish the corners
Once you’re done sharpening, you need to polish the corners well to rest assured that the skis will have really good traction with the snow and you will be able to develop higher speeds. You can do this by first using a diamond file, and finally using hard stones to polish the corners.
Image source: unsplash.com
Remove the factory wax
If the skis are brand new, they come with factory-made wax, Then use a metal brush to go down the slope several times in the direction of travel, applying not too much pressure while working. Once you’re done with the metal brush, you need to apply a cleaner (which one you use to decide) along the entire length of the skis.
Once you’re done with that, with another metal brush (not the one you used to remove the factory wax) again go along the length on the skis in the direction of travel. Immediately after that, wipe well with a paper towel and leave the skis for about 10-15 minutes.
Image source: unsplash.com
Prepare the skis for the wax
Once you have completely removed the factory wax from the skis and they are well cleaned and completely dry, with a clean metal brush you go once more along the length them (move the brush in one direction only).
Once you’re done, go down the slope again with a coarser and then a finer Fibertex. (To make it easier for you, you can place the towel on a brush). Finally, wipe the skis with paper or a clean, dry cloth to remove any debris from the surface of the skis.

Image source: unsplash.com
Apply the wax
Heat the iron, being careful not to overheat it. You take the wax block, touch it to the iron, to warm it up and melt it and spread it on the slope.
Once the base layer of wax is spread on the surface of the slope, go with the iron without holding it in place. While passing with the iron, make sure that the wax has melted well. The process of applying and “ironing” with the wax iron should be repeated at least a few more times.
Since the wax cannot be distributed evenly and correctly on the surface of the skis, but cools down very quickly, you need to cycle the skis, to remove excess wax. This is done with a scraper.
You just slide it on the surface of the skis and if there are any irregularities, they are easily removed. Then go again with a metal brush and finally – with a plastic (nylon) brush.
Image source: unsplash.com
A few minutes after you finish applying the base wax place the other one by following the previous steps.
You are now fully ready to head to your favorite ski resort and go down its white runs.